Mark places with symbols
Give point data meaningful icons instead of plain dots.
You've dropped a set of places onto your map — cafés, trailheads, an airport — and right now they're all the same plain dot. You want each one to say what it is at a glance: a coffee cup for the cafés, a tree for the parks, a little plane for the airport. That's what icons are for — they turn a field of identical points into a map anyone can read without a key.
Why a symbol beats a dot
Make every point recognisable
A dot tells you something is there. A symbol tells you what. When your points carry meaning — the type of place, the kind of stop, the category of thing — giving each one a recognisable little picture lets people understand the map instantly.
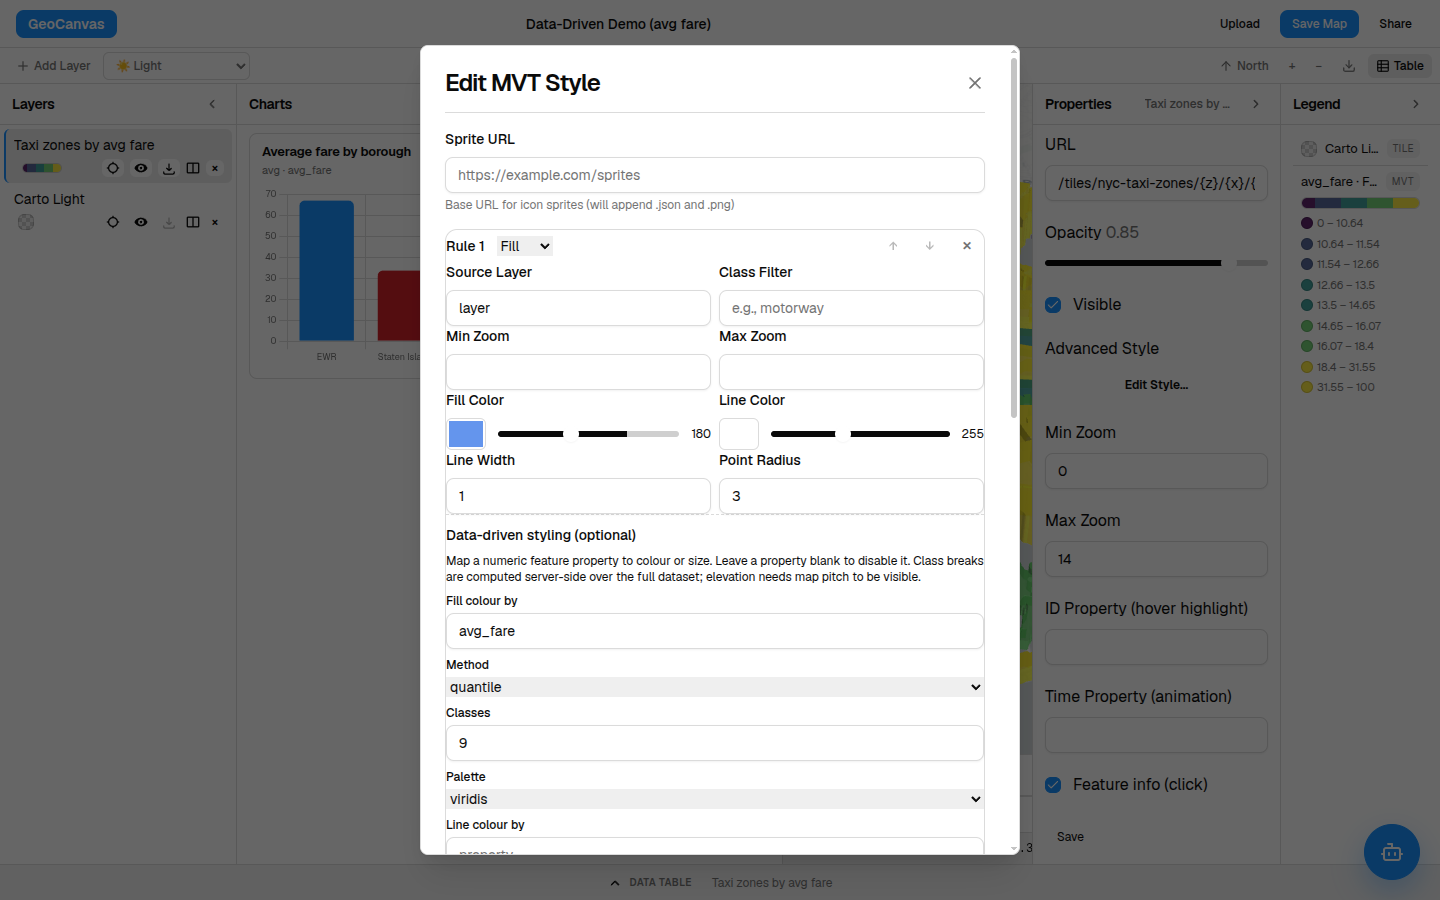
Our flagship NYC Taxi Zones map colours whole areas by their average fare, so the pricey corners glow — but colour-by-area only works for areas. The moment your data is points instead — say a marker on Newark Airport, where fares jump to about $67 — a small plane symbol does for that point what colour does for a zone: tells the story at a glance, where a plain dot says nothing.
Where to choose one
Pick a symbol in the styling window
Icons live with the rest of a layer's look, in the same styling window you'd use to colour an area. In the Layers panel on the left, click the point layer you want to dress up. Its settings open in the Properties panel on the right; click Edit Style… to open the styling window. For a points layer, that's where you swap the plain dot for a symbol and set its colour and size — exactly where you'd choose a fill colour for an area layer.
Keep symbols simple and your colours consistent — one clear glyph per kind of place reads far better than a dozen lookalike markers. Match the icon colour to the rest of your map and the points sit naturally beside your other layers.
A symbol for almost anything
Browse the icon library
Not sure what's available? GeoCanvas comes with a big built-in library you can browse and search at the icon library. Type what you're after — plane, coffee, tree, bus, pin — pick a colour that fits your map, and use it on your points. There's a symbol for nearly anything you'd want to mark.
Try it
Give your points a symbol
- Pick the layer. Click your point layer in the Layers panel to select it.
- Open the styling window. In the Properties panel on the right, click Edit Style….
- Choose a symbol. Browse the icon library for the right glyph — a plane for the airport, a coffee cup for cafés — and apply it to the points.
- Set colour and size. Tune the icon’s colour and how big it draws so it reads clearly against your other layers.
- You’re done. The points redraw with your symbol, and the look stays with the map when you reopen or share it.
Icons are the points-layer cousin of the colours you set in Styling layers — same window, same goal: a map that reads at a glance. Want to shade areas by a number instead? That's the choropleth over there. And once your points wear the right symbols, the automatic legend keeps everything labelled.